
Welcome to the chicken yard.
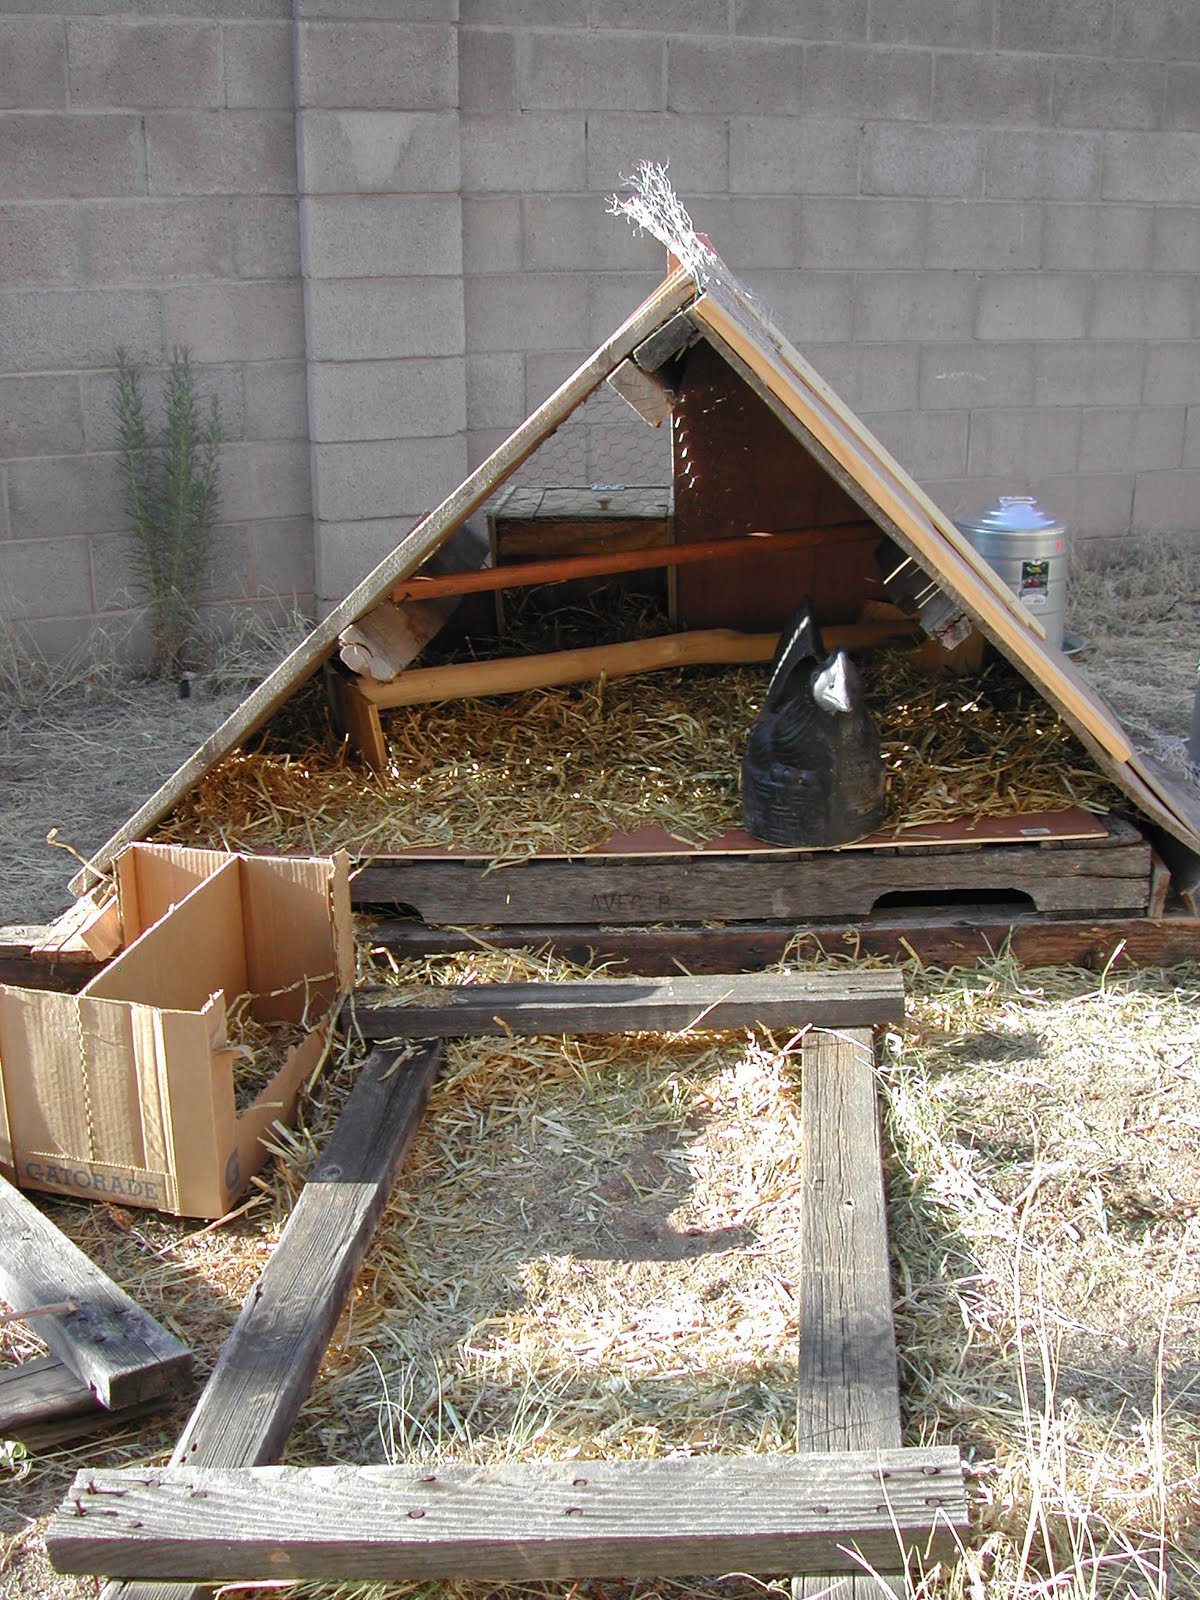
 This project was a "measure 0 times, cut 5" kind of deal. The original coop I built was very different and up against a wall. So if the chickens jumped up on it they could totally jump over the wall and end up in the neighbor's yard. I got wise to their schemes and moved the structure, built a back on it and switched the direction of the pallets. This coop is more solid than it's original counterpart. All walls are screwed in so the wind won't knock it over.
 Note the distance from the brick wall. Hopefully they won't attempt any escape shenanigans.
 This is my modern art roosting pole. I haven't had a chance to fit it in the coop yet.
 I stapled chicken wire along the perimeter wall. At first they were able to jump up on the white brick wall. I think Eleanor Roostevelt was trying to get her roost on.
 This door was originally a chicken wire make-shift gate. Totally shabby. I tried to drill a 2x4 into the brick on both sides of the opening. It isn't the most solid, but I was able to attach a sheet of wood to the bottom (the bottom part is stationary.) The top part of the gate is attached with hinges and swings open, again, it's not very sturdy, but it keep the chickens inside their yard.
 I don't know about this latch. I'll eventually have to redo this whole system. I think the door is going to just fall off it's hinges one day, because of the strong winds we get here.
This is the back of the coop. I screwed the nesting box and the sheets of wood into the base and walls of the coop. The chicken wire above the nesting box is stapled from the inside. It took me a couple tries to build the nesting box. I forgot to leave one side of the box off so I could attach hinges to it, so I ended up having to saw into it and pry part of the top off. It all worked out!

Inside of the nesting box. No eggs yet, the chickens are a bit too young still. I think. Or they've been laying their eggs somewhere else. We'll see.

The front and inside of the coop before I attached the door. The whole thing is made of three pallets; one on the bottom and two stacked together as the walls. They all sleep on the top roosting pole together.

This is the sheet of wood I sawed down and put hinges on for the door. The opening is where they enter/exit their coop. When I need to clean out the old straw I can open the big door. If I need to keep them in their coop I can roll down a piece of chicken wire attached above their small doorway.

Omelet, Scramblez and Eleanor Roostevelt. Now I'm just hoping none are secret roosters.


